
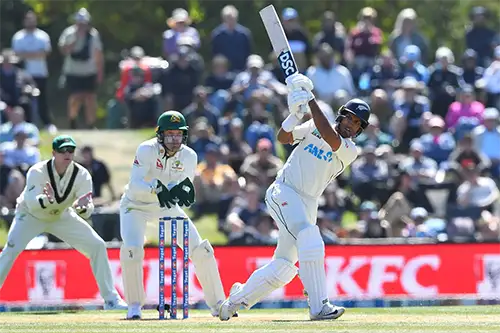
This comprehensive analysis provides insights into the riveting contest between Australia and New Zealand in the 2nd Test at Hagley Oval.
From Australia’s early struggles to New Zealand’s spirited fightback, every aspect of the match is dissected to offer readers a detailed perspective on the unfolding drama. As both teams brace themselves for a nail-biting finish, the stage is set for a thrilling climax to this captivating Test encounter.
See also: Arsenal Surges to Premier League Summit with 2-1 Victory Over Brentford
Australia’s Battle for Victory
Mitchell Marsh and Travis Head’s partnership offered a glimmer of hope for Australia as they strive to chase down 279 runs in the Australia and New Zealand, 2nd Test at Hagley Oval.
Top-Order Turmoil
Australia found themselves in disarray at 34 for 4 with key batsmen falling early, including Steven Smith and Usman Khawaja, leaving the team in a precarious position.
See also: Alex Carey’s Heroics Lead Australia to Historic 3 Wicket Win in Nerve-Jangling Chase
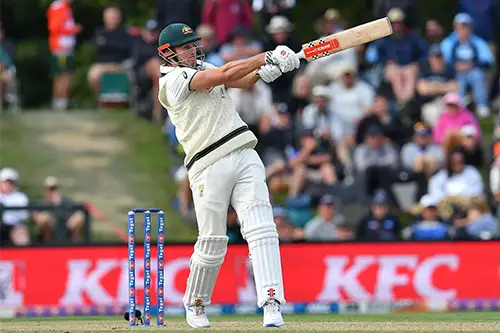
Marsh and Head: The Saving Grace
Mitchell Marsh and Travis Head displayed resilience and determination as they formed a crucial 43-run partnership, stabilizing Australia’s innings against a formidable New Zealand bowling attack. Their composed batting performance helped stem the tide of wickets and provided hope for the visitors in their pursuit of victory. Marsh and Head’s ability to weather the storm and build a partnership under pressure highlighted their importance in Australia’s batting lineup, setting the stage for a gripping battle at Hagley Oval between Australia and New Zealand.
See also: Matt Henry 7/67: New Zealand Bounce Back in the Second Day
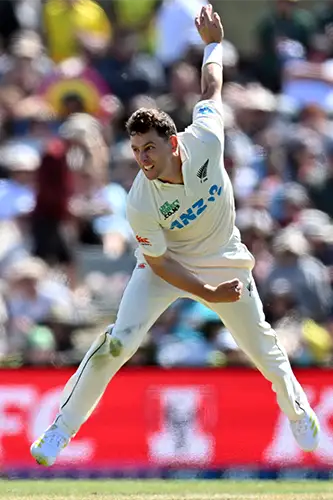
Henry and Sears Lead New Zealand’s Charge
Matt Henry and Ben Sears wreaked havoc on Australia’s top order, picking up crucial wickets and putting the visitors under immense pressure in the Australia and New Zealand Test Match.
Henry Strikes Early
Matt Henry made an impactful start by dismissing Steven Smith lbw for just 9 runs, laying the foundation for New Zealand’s dominant bowling performance. His early breakthrough sent a clear message to the Australian batting lineup, signaling the hosts’ intent to assert their dominance on the field. Henry’s ability to strike early provided New Zealand with the momentum they needed to put pressure on the opposition, setting the stage for a compelling battle at Hagley Oval.
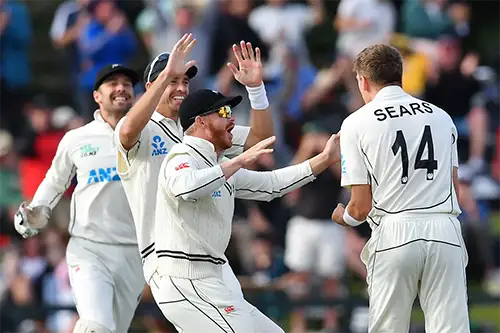
Sears’ Debut Brilliance
Ben Sears announced his arrival with authority, making an immediate impact on his debut by claiming crucial wickets, including the prized scalp of Marnus Labuschagne. His effective bowling performance played a significant role in Australia’s early collapse, adding to the pressure on the visitors. Sears’ ability to strike early and disrupt Australia’s top-order batting lineup showcased his talent and potential, making him a key asset for New Zealand in the fiercely contested Test match at Hagley Oval.
Cummins and Lyon’s Resilience
Pat Cummins and Nathan Lyon displayed exceptional bowling prowess, restricting New Zealand’s lead and keeping Australia’s hopes alive in the Test match.
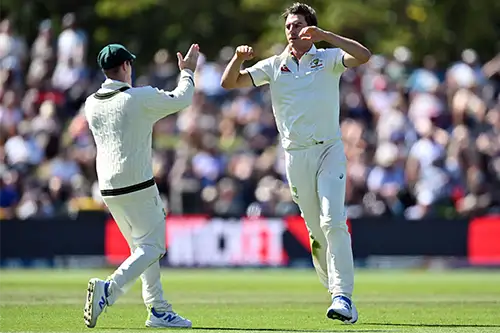
Pat Cummins showcased his bowling prowess with crucial breakthroughs, tallying impressive figures of 4 for 62. His performance played a pivotal role in restraining New Zealand’s lead, exerting pressure on their batting lineup. Cummins’ ability to strike at crucial junctures of the match underscored his importance to the Australian team’s fortunes, keeping their hopes alive in the fiercely contested Test encounter between Australia and New Zealand.
Nathan Lyon showcased his spin bowling mastery, claiming three wickets and exerting pressure on the New Zealand batting lineup during crucial junctures of the match.
New Zealand’s Fightback
Despite early setbacks, New Zealand fought back valiantly with contributions from Rachin Ravindra, Daryl Mitchell, and others, setting up an enthralling contest at Hagley Oval.
Ravindra and Mitchell’s Partnership: Rachin Ravindra and Daryl Mitchell forged a vital partnership, frustrating the Australian bowlers with their resilient batting display. Their collaboration not only steadied New Zealand’s innings but also propelled them to a commanding position in the match. Ravindra and Mitchell’s ability to weather the storm and accumulate runs efficiently showcased their batting prowess and determination. Their partnership played a crucial role in setting up New Zealand for a formidable total, adding pressure on the Australian team as they sought to mount a comeback in the fiercely contested Test battle between Australia and New Zealand.

Missed Opportunities for New Zealand
New Zealand’s batsmen showed promise but failed to convert starts into big scores, missing out on potential centuries and allowing Australia to claw their way back into the game.

Australia and New Zealand: The Path to Victory
As the match hangs in the balance, both teams are poised for a thrilling finale, with Australia needing 202 runs to win and New Zealand determined to clinch a historic Test victory.
The Final Stretch
With the outcome of the match uncertain, all eyes are on Hagley Oval as Australia and New Zealand prepare for a tense conclusion to an exhilarating Test match.
